How to Make a Holiday Charcuterie Board
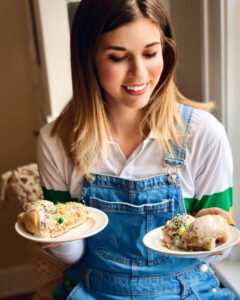
The following tutorial and photography was provided by recipe developer and food photographer, Ashley Durand of Plate & Pen.
Everyone loves charcuterie boards, and I am no exception, especially at the holidays.
Making a gorgeous board worth grazing is not nearly as hard as you might think – just follow my simple tips below!
How to Build a Holiday Charcuterie Board
Pick a Theme
A general theme will be the foundation for the overall appearance of your board and will guide the items you choose to bring your vision to life.
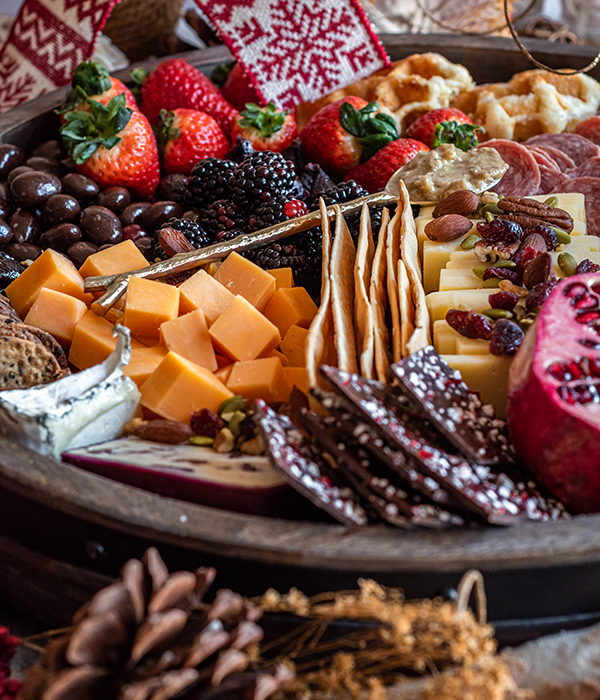
Since I’m making this board at the holidays, I opted for a “white and woodsy winter” theme. Most decorations can be found at a craft store, but why make two trips for groceries and craft supplies when Heinen’s Floral Department has seasonal décor that greets you right when you walk in? It gets me every time!
To play into the white and woodsy winter theme, I chose a lazy Susan tray and a large cracked wooden hazelnut/acorn as decorative pieces.
Plan the Layout Ahead of Time
Design is key. If you have too may or too few items, it shows! Not having enough to work with is the worst case scenario because it results in empty spaces on the board.
You will need to estimate the amount of space that will be occupied by food based on the size of your tray or board. Since I knew that my board was circular and wide but had wall, I had to plan methodically.
If your board has no wall, you can have spillage and lay it out to where it still looks intentional, but full. Before I started filling the tray, I placed a layer of fresh, crisp cranberries on the board to create a level bed for the charcuterie display. It also provided some height for the food.
Mix Up Your Selection
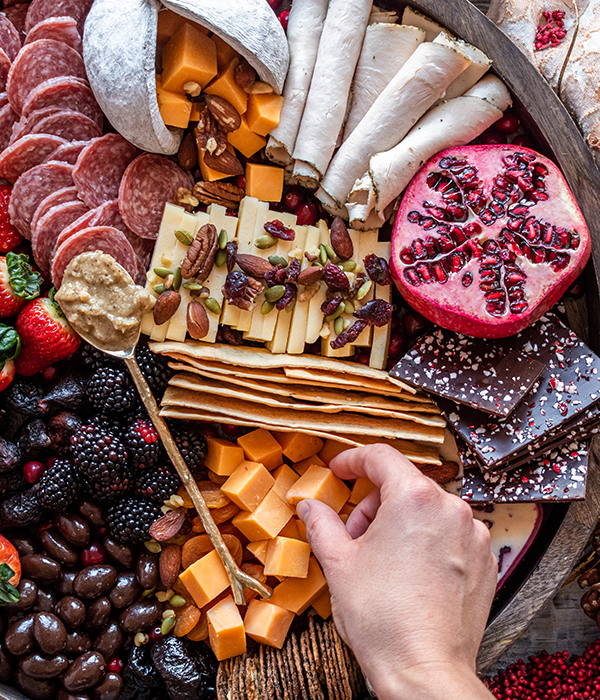
I chose fruit, cheese, chocolate and meat as the main food elements for my board. You can do 1, 2, 3 or more than those listed. Just be smart about it and add elements that pair well together.
When I laid this out, I made sure to mix up sweet and savory, but also put individual clusters of cheeses, fruit and chocolate together.
Once I got started I could not stop! I continued by placing cheeses near crackers and meats since we all know that people love a good pairing.
Add a Dip, or Two
I don’t like to use too many dips on charcuterie boards because I believe it takes away from the featured ingredients. So, I usually only use one dip.
For this board, I chose a nice subtle walnut butter spread. It was just sweet enough to compliment all of the items on the board and wasn’t too overpowering. Jellies wouldn’t be a bad idea either. Or a beer mustard…just sayin’.
What Ingredients are on This Charcuterie Board?
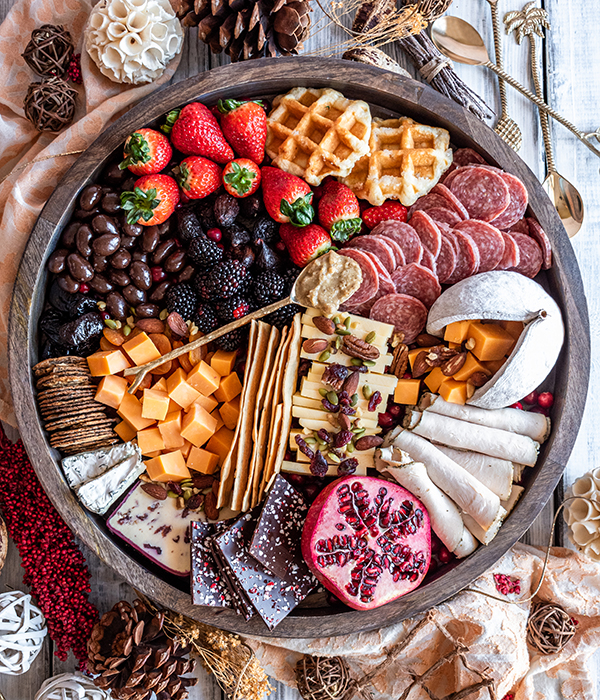
I love sweet and savory, so I chose to feature meats, cheeses, fruit and chocolates on my winter board, but I encourage you to use whatever suits your taste.
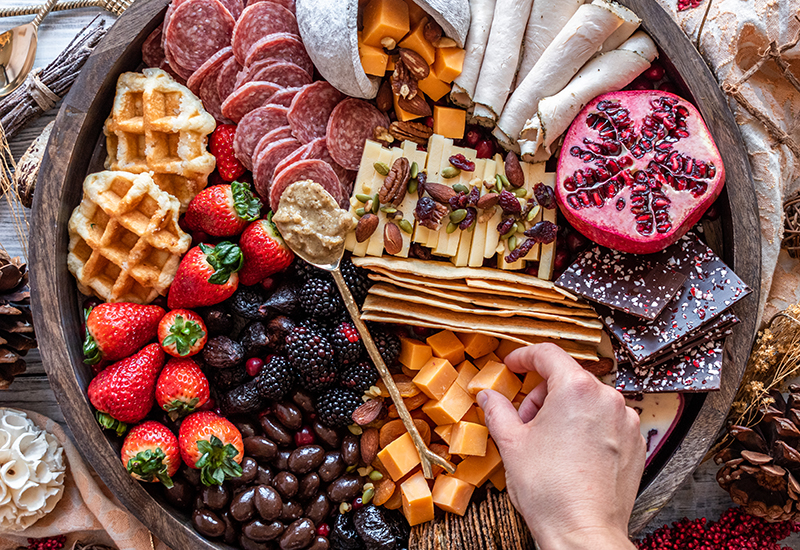
For the meats, I used salami and herb-crusted turkey.
Cheese is my main love, so I added Wisconsin cheddar, aged Havarti, smoked gouda, a really funky blue cheese and cranberry white cheddar.
For sweets, I featured brioche waffles, peppermint chocolate bark and chocolate covered almonds.
For a bit of crunch, I added sesame wheat crackers and rosemary sea salt cracker thins.
Lastly, for the fruit, I added strawberries, blackberries, figs and dates and finished it all off with an assortment of nuts and a simple sweet dip.
There you have it, folks! Creating a picture perfect charcuterie board is not just for the Instagram experts. Give it a try this holiday season and let your inner creativity soar!
How to Make a Holiday Charcuterie Board
Servings: 10-12
