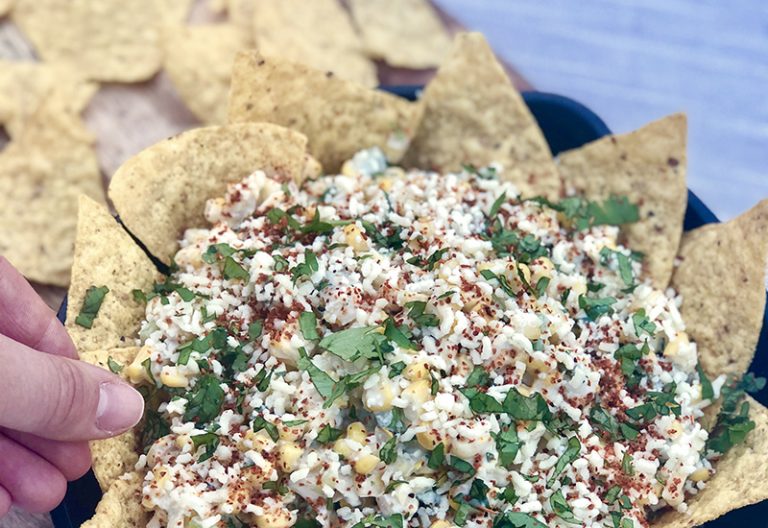
Mexican Street Corn Nachos
Ingredients
- 4 ears of corn on the cob or 2 cans of whole-kernel corn, drained (I usually use either canned or frozen, or you can grill the corn and cut it off the cob)
- 3/4 cup cotija cheese or queso fresco, crumbled
- 1/2 cup red onion (optional, but I love the extra flavor it adds)
- 2 cans of pre-diced Jalapeños (or if you like less heat, try adding Hatch Green Chiles)
- 1/2 cup Greek yogurt (or sour cream or mayo)
- 2 Tbsp. Fresh cilantro, chopped for garnish
- 2 Tbsp. Garlic
- 1 Lime, juiced and zested
- 1 Tbsp. Chili powder
Instructions:
- Pan-roast or grill your corn. Pan-roasting is an option if you’re in a hurry, but I think grilling it makes all of the difference if you have time.
- If you have time to grill your corn, make sure to brush each cob with a little bit of butter before placing them on the hot grill. Turn every couple mins until you see that nice char on some of the kernels. This will take approx 7 mins total.
- For the pan-roasting method, simply melt a little butter (or olive oil) in a casting iron skillet or saucepan, add the corn, and let it cook until it gets nice and roasted and caramelized around the edges.
Meanwhile, as the corn is either roasting or grilling…
- Prep the rest of your ingredients. Chop your garlic, cilantro, jalapeño, red onion, and measure out the remaining ingredients.
- Add everything together. Then combine the corn and remaining ingredients in a large mixing bowl, and stir until combined.
Note: If you grilled your corn, after the corn cools take a sharp knife and run the knife down the cob from top to bottom slicing all the kernels off. Then combine with the other ingredients. - Taste and adjust seasonings (such as the chili powder). I recommend adding a bit of salt and pepper and then also adding any extra ingredients that you might prefer (such as more lime juice for tang, more Greek yogurt for a creamier dip, more jalapeño for heat, etc).
- Place your favorite tortilla chips on a plate or bowl, add the ingredients over top and serve!
Recipe and Photography Courtesy of Lauren Schulte

